How to Restore Old Floorboards - Step-by-Step Guide
There are very few things in life I love more than restored floorboards. Restoring original floorboards adds so much character. As an interior designer, I often tell clients in period homes that it’s one of the most affordable ways to create maximum impact, especially if you’re willing to do the work yourself - much cheaper than having new wooden floors installed.
Apart from the basement which we tanked out and the bathrooms that are tiled, we’ve restored the original boards in every room of our home in Halifax, painting some and staining others. Today I'm sharing a guide to the restoration process, together with my recommendations of the best floor stains and finishes.
What you’ll need

A floor drum sander and an edging sander. We hired ours from Frank Key Tool Hire. The cost was £72 to hire them both for a weekend. Depending on the size of the rooms, you could get through a couple of rooms in a weekend. You might also need a detailed sander to get to the very edges if you have any awkward spaces.
Sand paper sheets (for the floor sander) and discs (for the edging sander) of varying grits. In most rooms, we started off with a P40 coarse grit and worked up to P120 fine grit for a final light sand. For an average sized room, I’d recommend 5 sheets and 5 discs of P40, 3 sheets and 3 discs of P80 and 2 discs and 2 sheets of P120. The hire company will sell you a pack and they’ll normally reimburse you for any sheets you haven’t used when you return them so it’s best to be safe and get more.
A hammer and screwdriver
The Prep
Once you’ve pulled back the old carpet, you’ll be able to assess the state of the old wooden floorboards. Often, most will be in good condition but some will have been pulled up in the past, especially in kitchens and bathrooms or around radiators. I don’t mind having floorboards that aren’t perfect (it just adds to the character) but if there are some that are really badly damaged, you’ll need to replace them before beginning the restoration. Where we needed to replace any in our home, we took some from under the eaves.
Fill any noticeable holes that you don’t want with coloured wood filler, as close to the existing wood colour as possible. Alternatively, use a clear wood filler and mix in some of the fine sanding dust that’s left over once you’ve started sanding. If it’s a big hole, you can wedge in a piece of wood first.
If there are any loose boards with nails or screws sticking out, make sure you hammer them in well so that they’re slightly below the floor level - otherwise they could damage the sander.
Before you start sanding, I highly recommend wearing a dust mask - it gets VERY dusty!
The Process

Start with the floor sander. Make sure you go along the floorboards length ways and go in the direction of the wood grain so that you end up with a smooth, even finish. Once you’ve done the middle of the floor, the next step is to move out towards the skirting boards with the edging sander. It is quite a time consuming process - for an average sized room, it takes a whole day of sanding.

Quite often, you’ll notice that the edges of the floor are a slightly different colour to the centre. From the Georgian period onwards, the middle of the floor was often covered in a big rug and so only the outer edges were painted or stained.
If there's a lot of dirt between the floorboards, the next step is to scrape it out (we used a screwdriver) and then use a vacuum cleaner to hoover the entire floor.
The Best Floor Finishes

Now it’s time to apply the floor paint or wood stain to the bare wood!
Wood dyes and varnish
In our house, we started by using Liberon wood dyes and water-based matt floor varnish. While I’m happy with the finish, it’s not the most hardwearing so for high traffic areas, I’d recommend something more heavy duty, which I’ll come on to in a moment.

All of the Liberon wood dye colours are intermixable so in our office, we mixed up dark oak and medium oak until we got the colour we wanted.

We stained our living room floor in Liberon’s Tudor oak wood dye.
Towards the end of our house renovation, I came across Mylands Earth Stain and I CAN’T STRESS ENOUGH HOW AMAZING IT IS! They have lots of colours to choose from - I went along to my local stockist, Calder Valley Flooring and decided on the Silt colour for my dining room and hallway - a little goes a long way and we used a lot less than we thought we would. We finished off with the Mylac Matt lacquer, following the manufacturer's instructions and giving it three coats. It’s got a beautiful waxy, professional-looking finish and it’s so hardwearing. We’ve got three boys and dining chairs scraping across it daily but it hasn’t marked at all. It’s probably the best product I found during our renovation. It’s brilliant!

Dining room floor in Mylands Silt Earth Stain and finished with Mylac Matt Lacquer
Floor Paint

In the boys’ rooms, we used Farrow and Ball floor paint, which is water-based. They no longer do specific floor paint but their Modern Eggshell finish can be used on floors - prime using their wood floor primer & undercoat first. It’s got a lovely sheen level and is really hardwearing.

Floor painted in Farrow and Ball’s Slipper Satin.
For our stairs and landing, we used Little Green’s oil-based floor paint. It’s now discontinued but they’ve recently launched their Intelligent Floor Paint, which I used on a recent project and is water-based.

Stairs and landing floor painted in Little Green’s Basalt
So there you go - old floorboards restored to their former glory. I hope I’ve persuaded some of you period home dwellers to get those carpets ripped up and go for it!
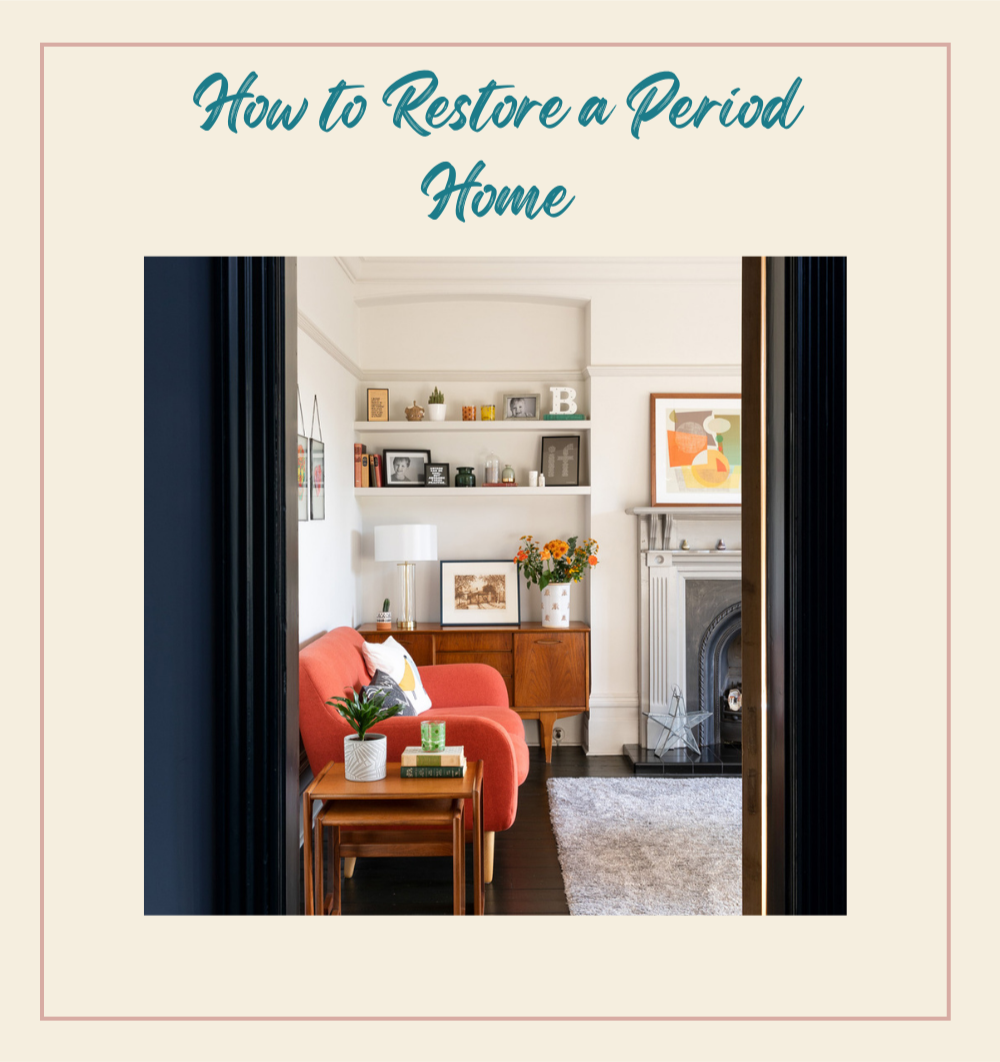
For more advice on how to restore a period home, read my blog post here.
I’m a Halifax based interior designer and I cover surrounding areas, including Leeds and Manchester. I also provide a remote interior design service. If you’re starting a project and need some help or inspiration, please get in touch.