
North Wales Coastal Home - Upstairs Plans and Progress

A couple of weeks ago, I introduced you to the North Wales coastal home project and showed you the interior design plans and the progress we’ve made with the downstairs. In case you missed it, you can read about here. Since then, a lot of the furniture has gone in - VERY exciting! Today, I’m going to show you the plans for the upstairs.
The Upstairs Plans
Upstairs, there were three bedrooms and one bathroom.
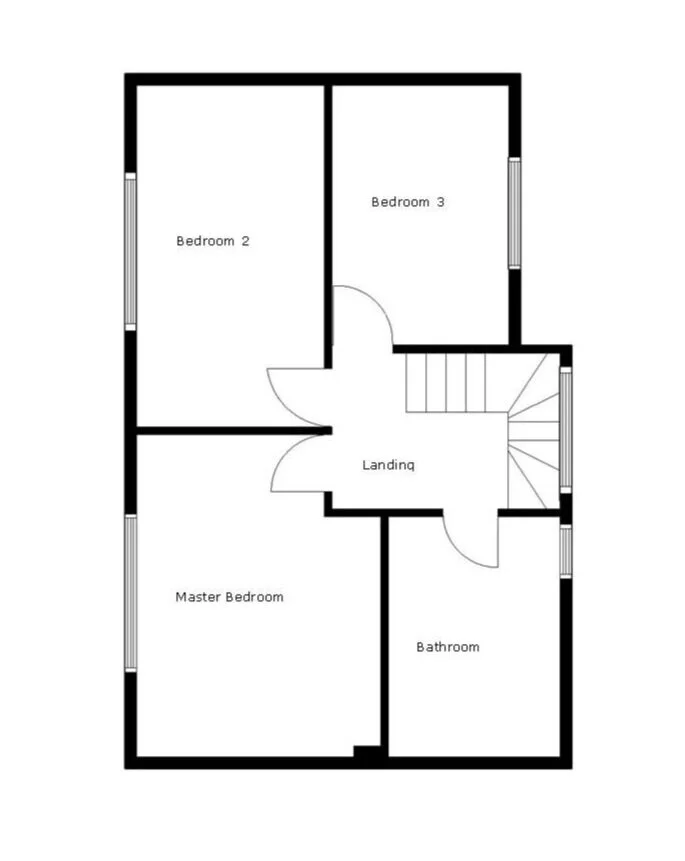
Because the house will be able to accommodate up to 8 people (with the three bedrooms and sofa bed downstairs), one bathroom wasn’t really enough. The existing bathroom was just over 3 metres long and about 2.1 metres wide (quite big for the size of the house) so I looked at ways of separating it into two, to create an en-suite for the master bedroom and a separate family bathroom.
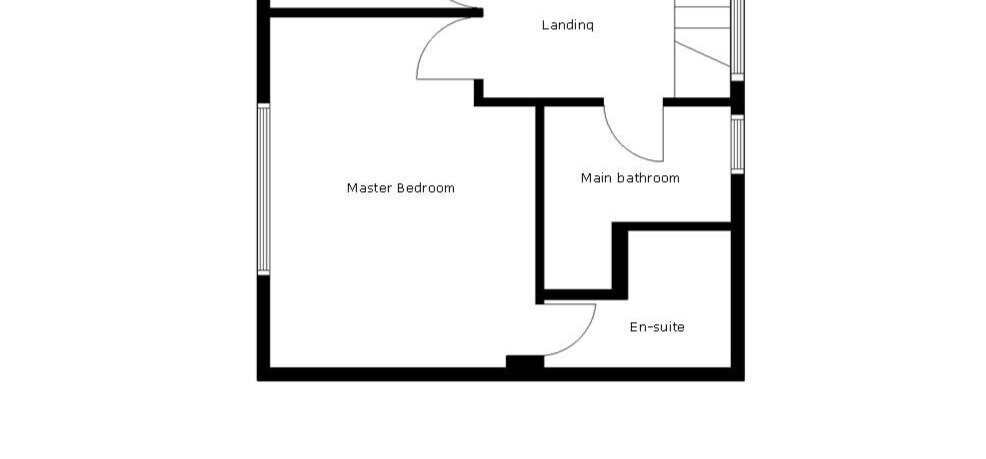
One of my favourite parts of the interior design process is working with tricky floor plans - it’s a bit like doing a jigsaw - it’s so satisfying seeing the end result and how a space can become so much more functional through clever space planning. We decided to knock a door through from the master bedroom and leave the existing entrance to the family bathroom where it was, with a cleverly shaped wall to separate the bathroom from the en-suite. More on the bathrooms in a minute. First, let’s look at plans for the master bedroom.
Master Bedroom
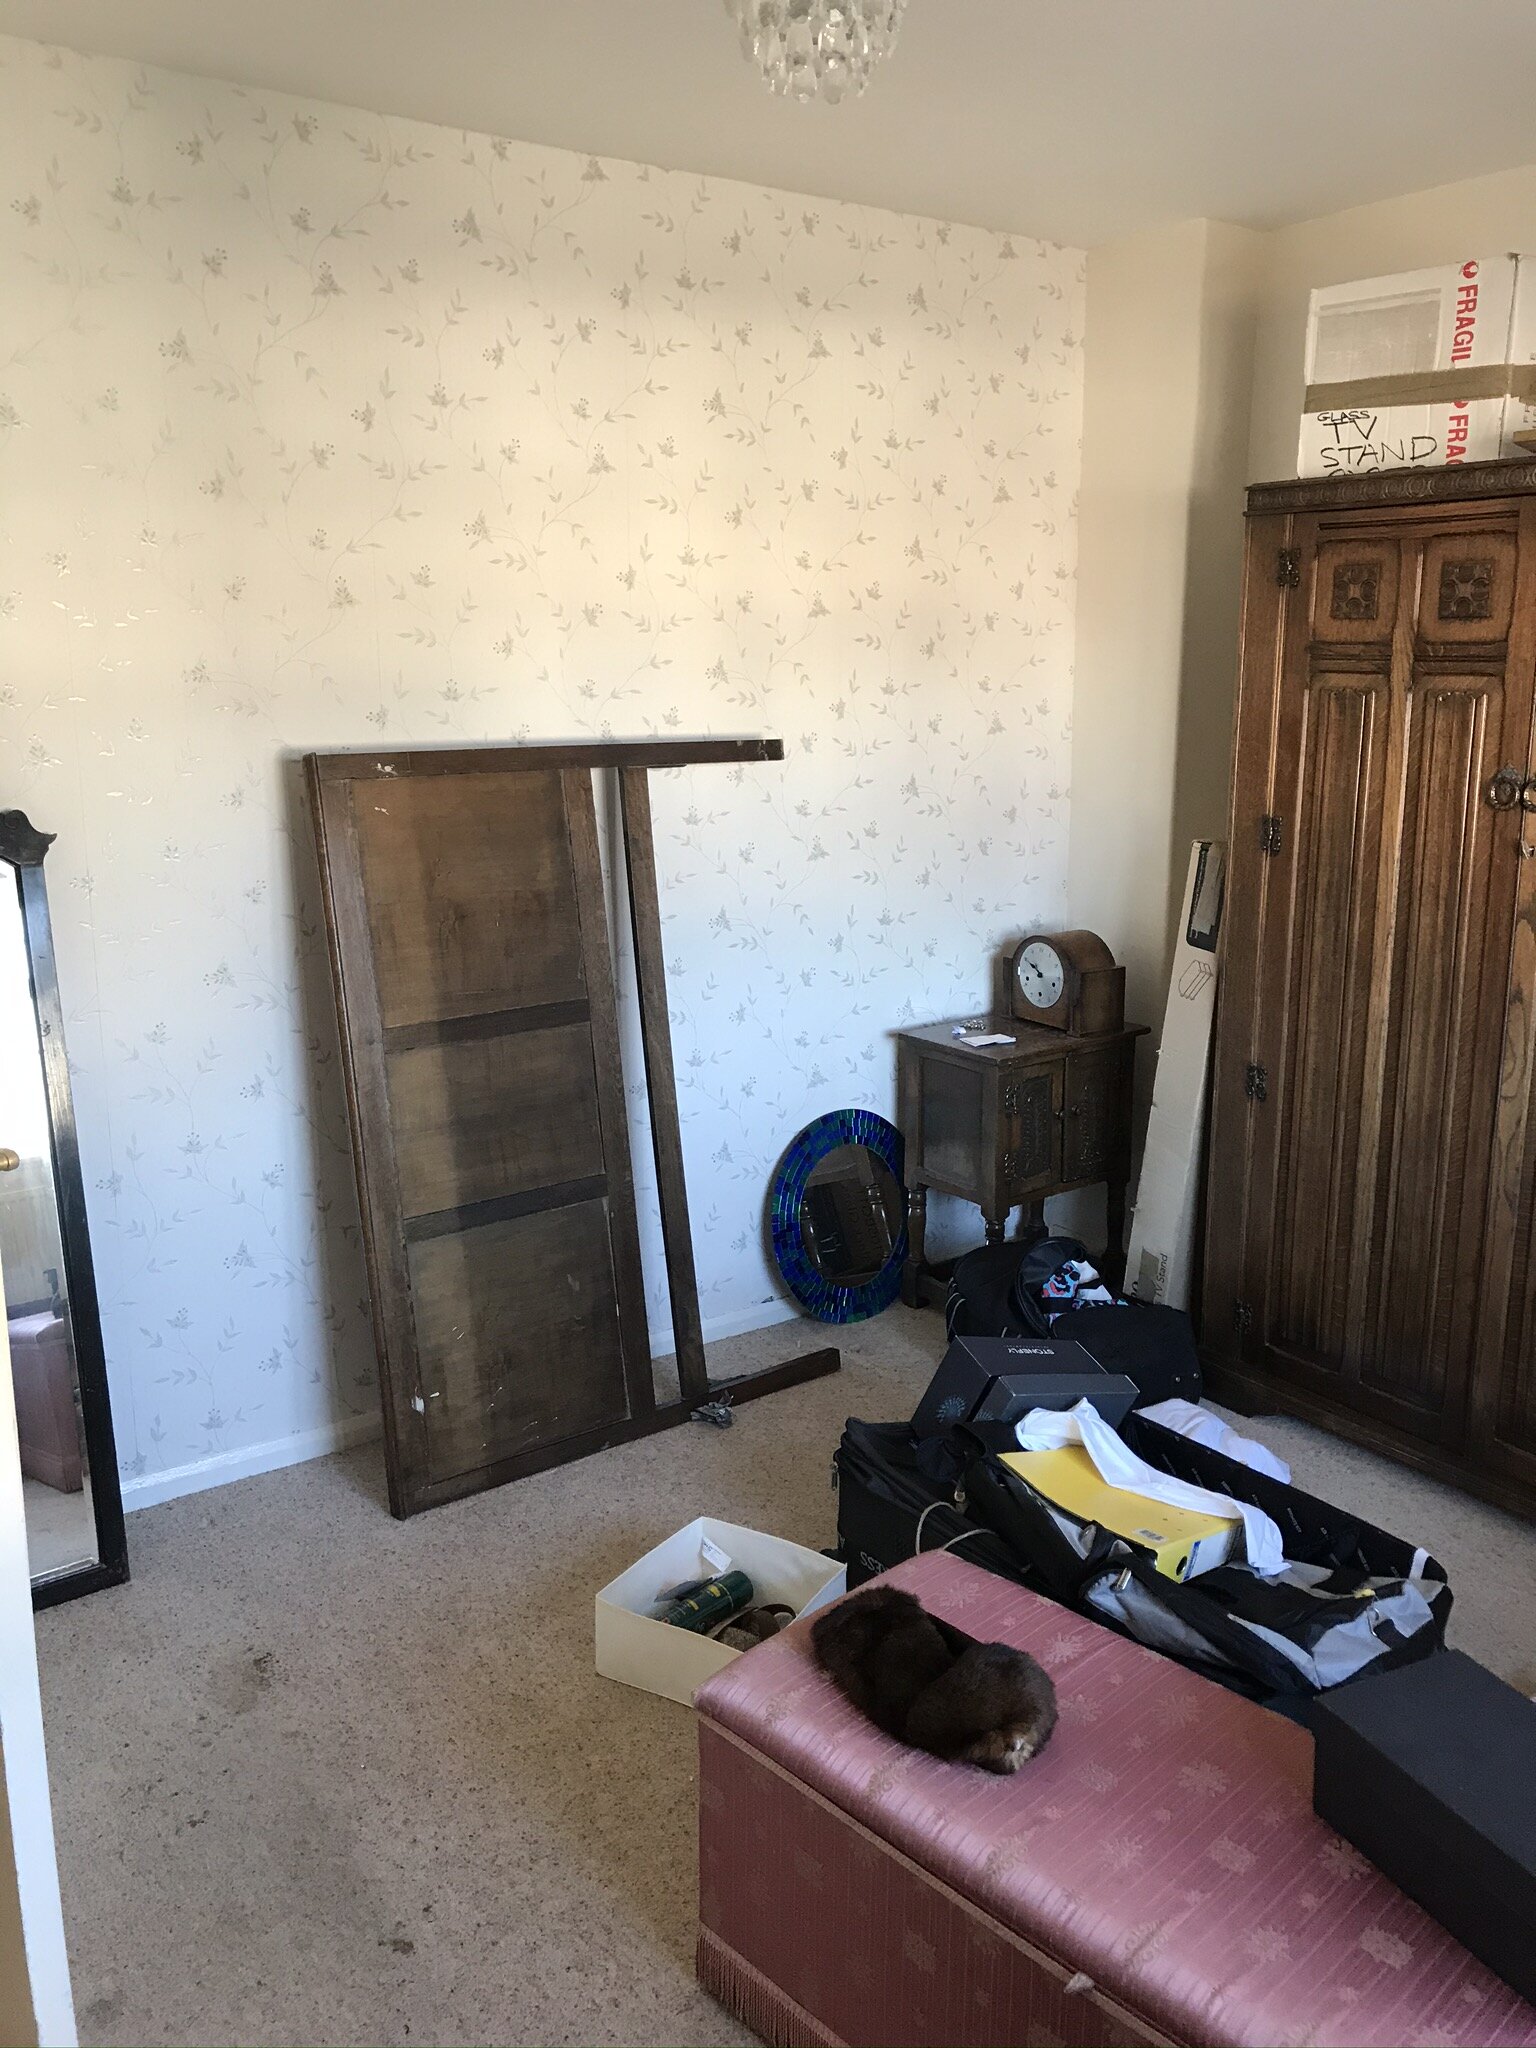
Before
I know, I know - these pictures are really bad. They were taken during the clear out phase and I hadn’t started my business yet so wasn’t thinking about using them for a blog! Lots more dark oak furniture, like we saw downstairs. The door through to the en-suite will be going in the corner where the little cupboard is. Like many mid-century houses, there wasn’t much character - no cornices and tiny skirting boards.
The Interior Design Scheme
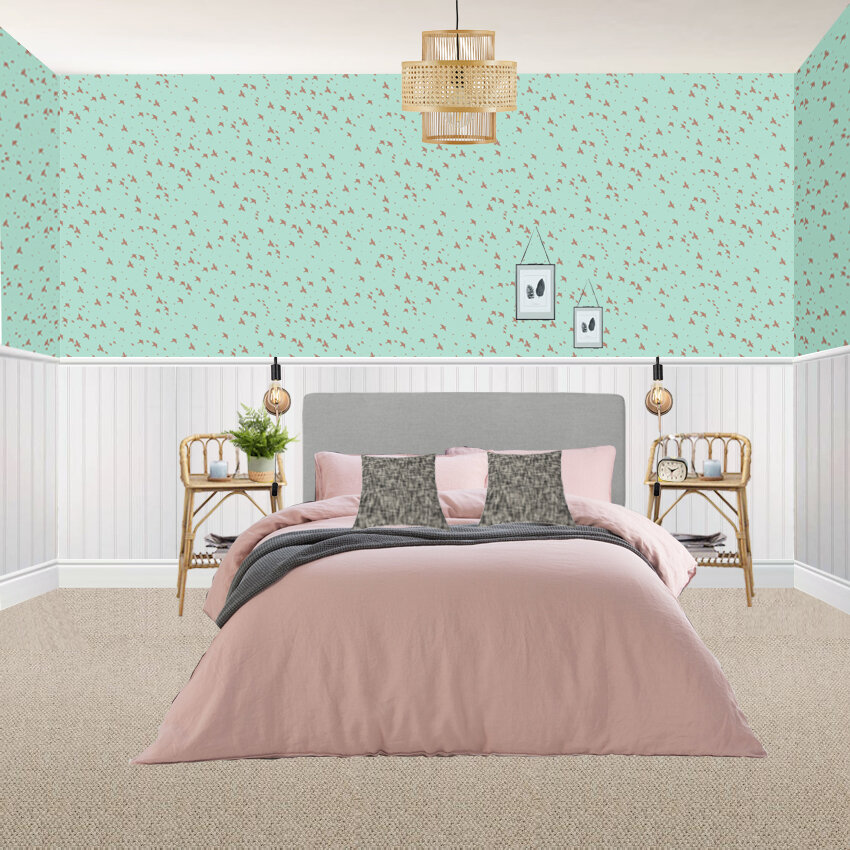
The brief for this room was to create a homely, calming space. Sticking to a similar colour palette to the rest of the house, I chose mint green and pink, with copper and brass accents and plenty of rattan to add warmth and texture.
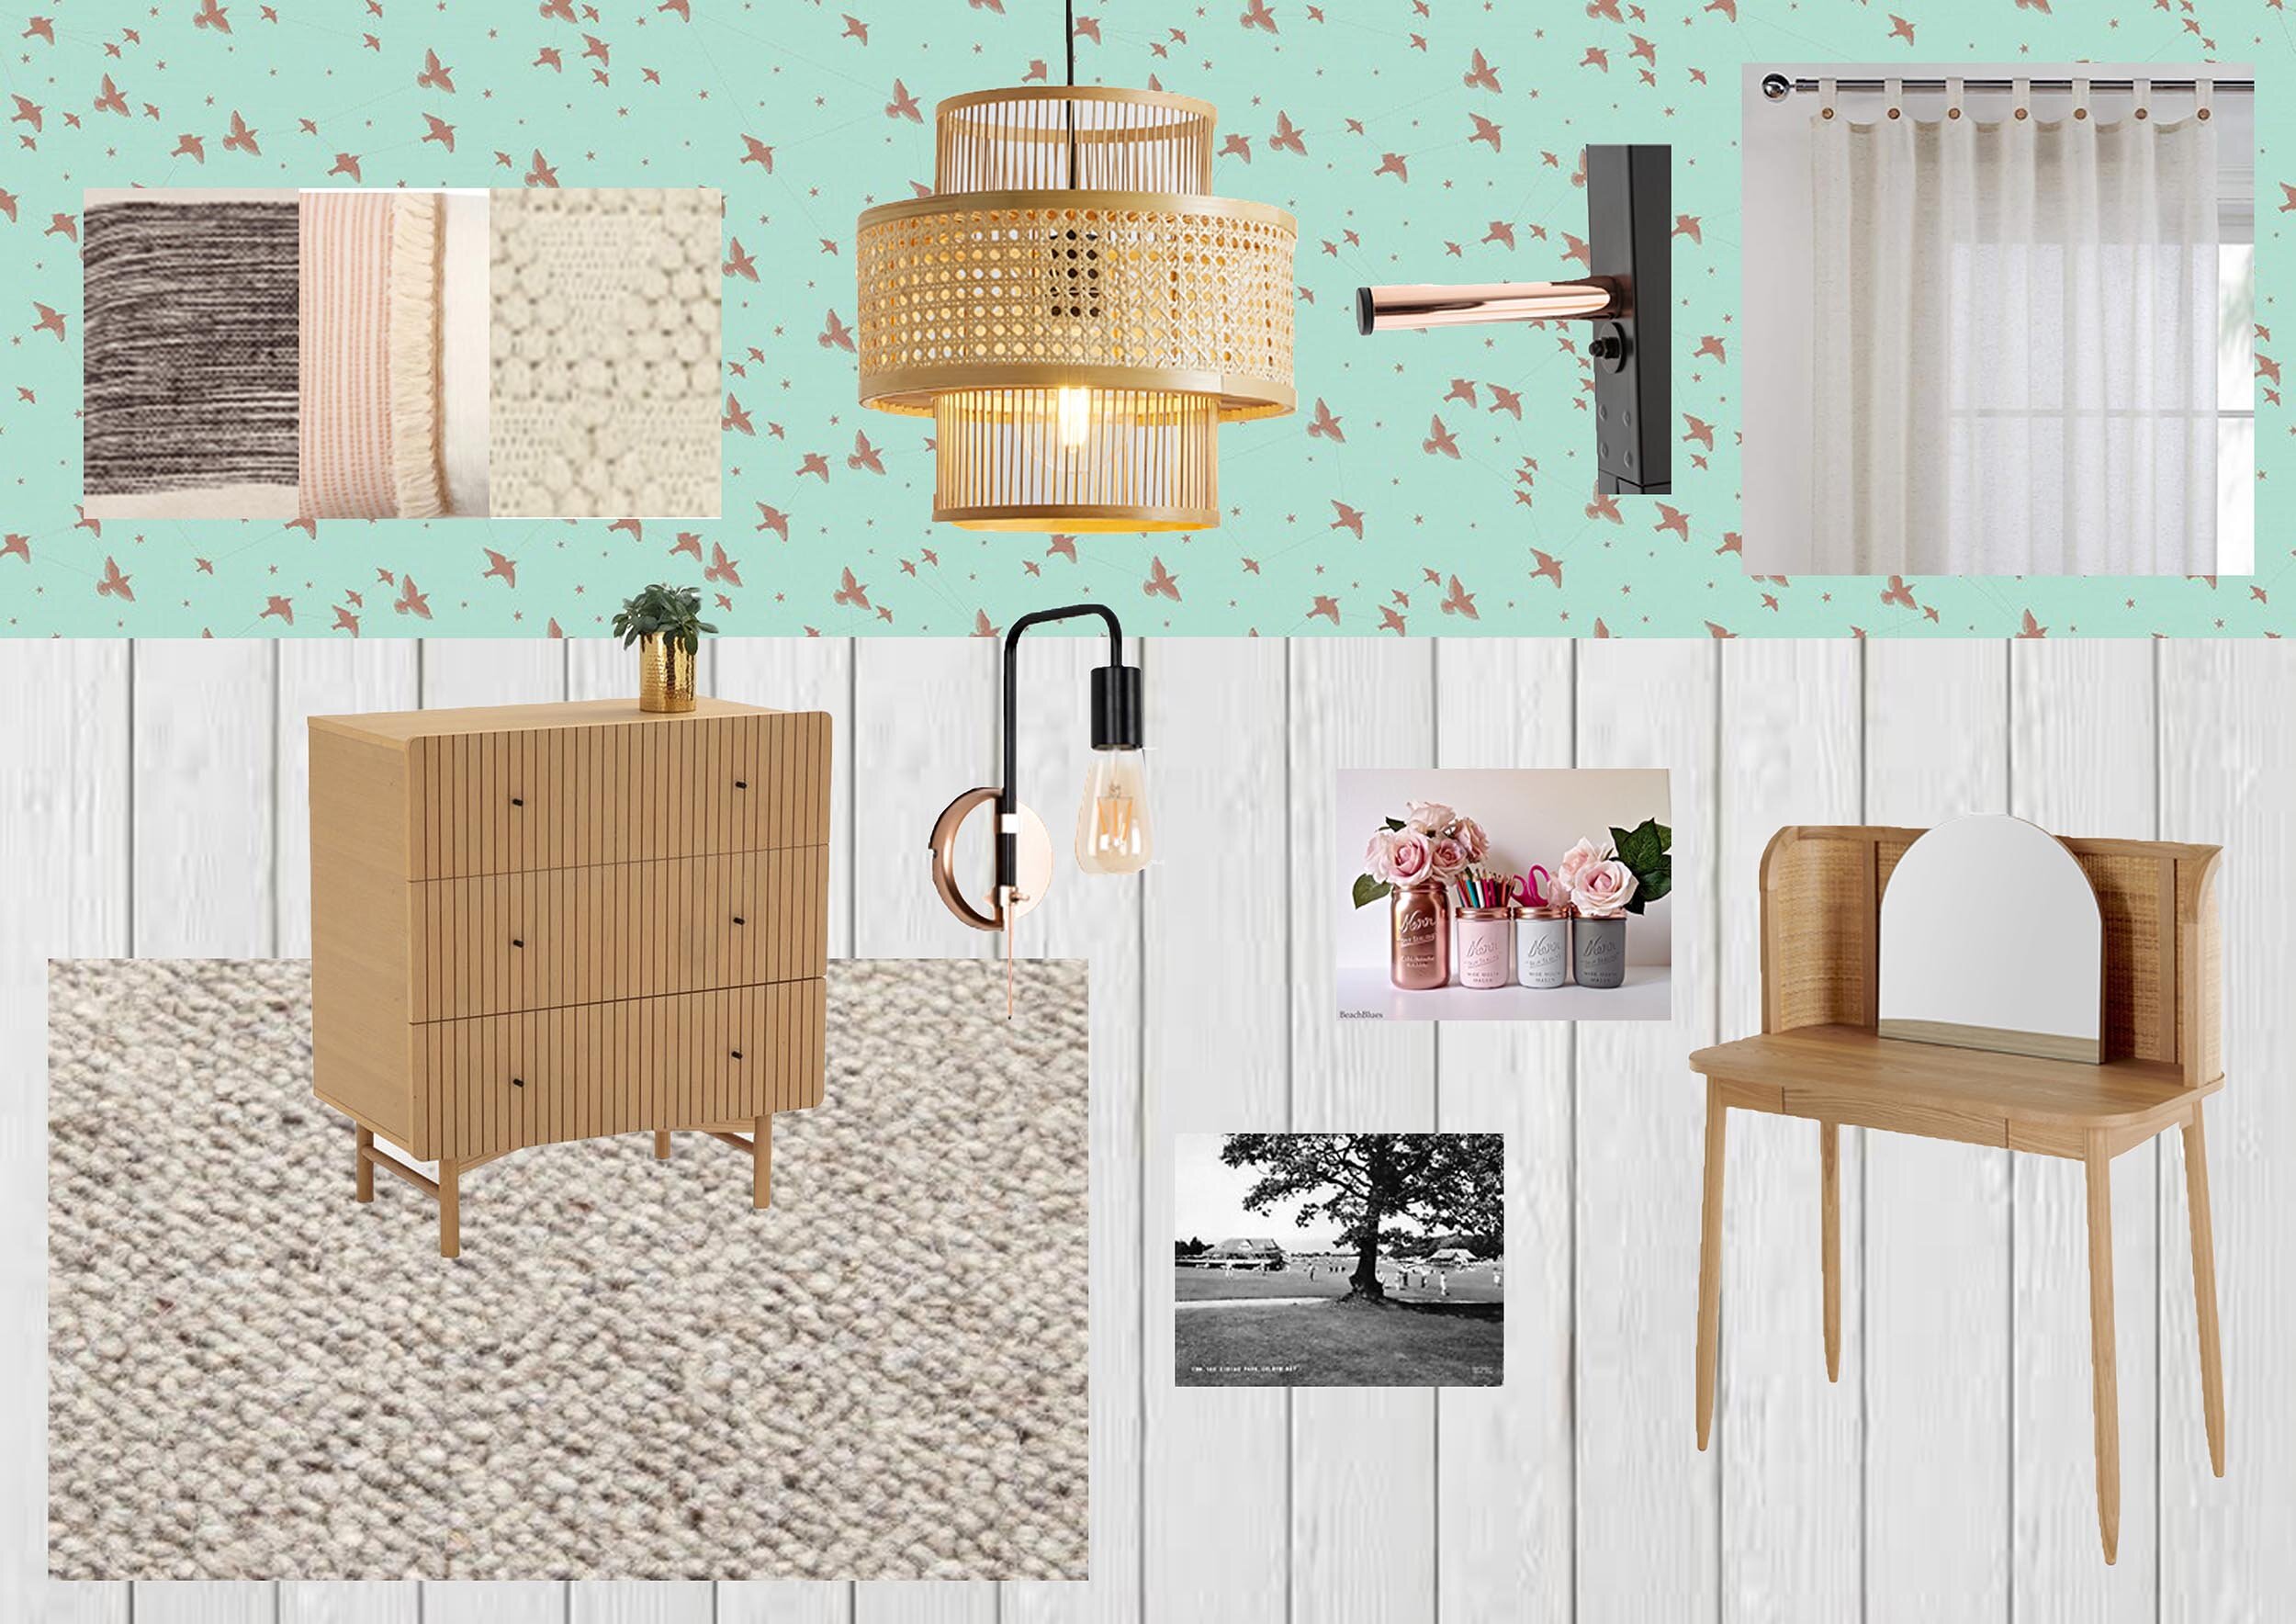
To add character and a bit of a coastal feel, I chose tongue and groove panelling for the bottom half of the walls, with wallpaper above. The beautiful starling wallpaper by Minimoderns in Verdigris and Copper shimmers beautifully - lovely to wake up to in the morning.
Progress

The wallpaper and panelling are up!
The Bathrooms

Before
The existing bathroom was quite big - it had a bath and separate shower.

It also had a large built in cupboard which we ripped out to create a lot more space.
Plans
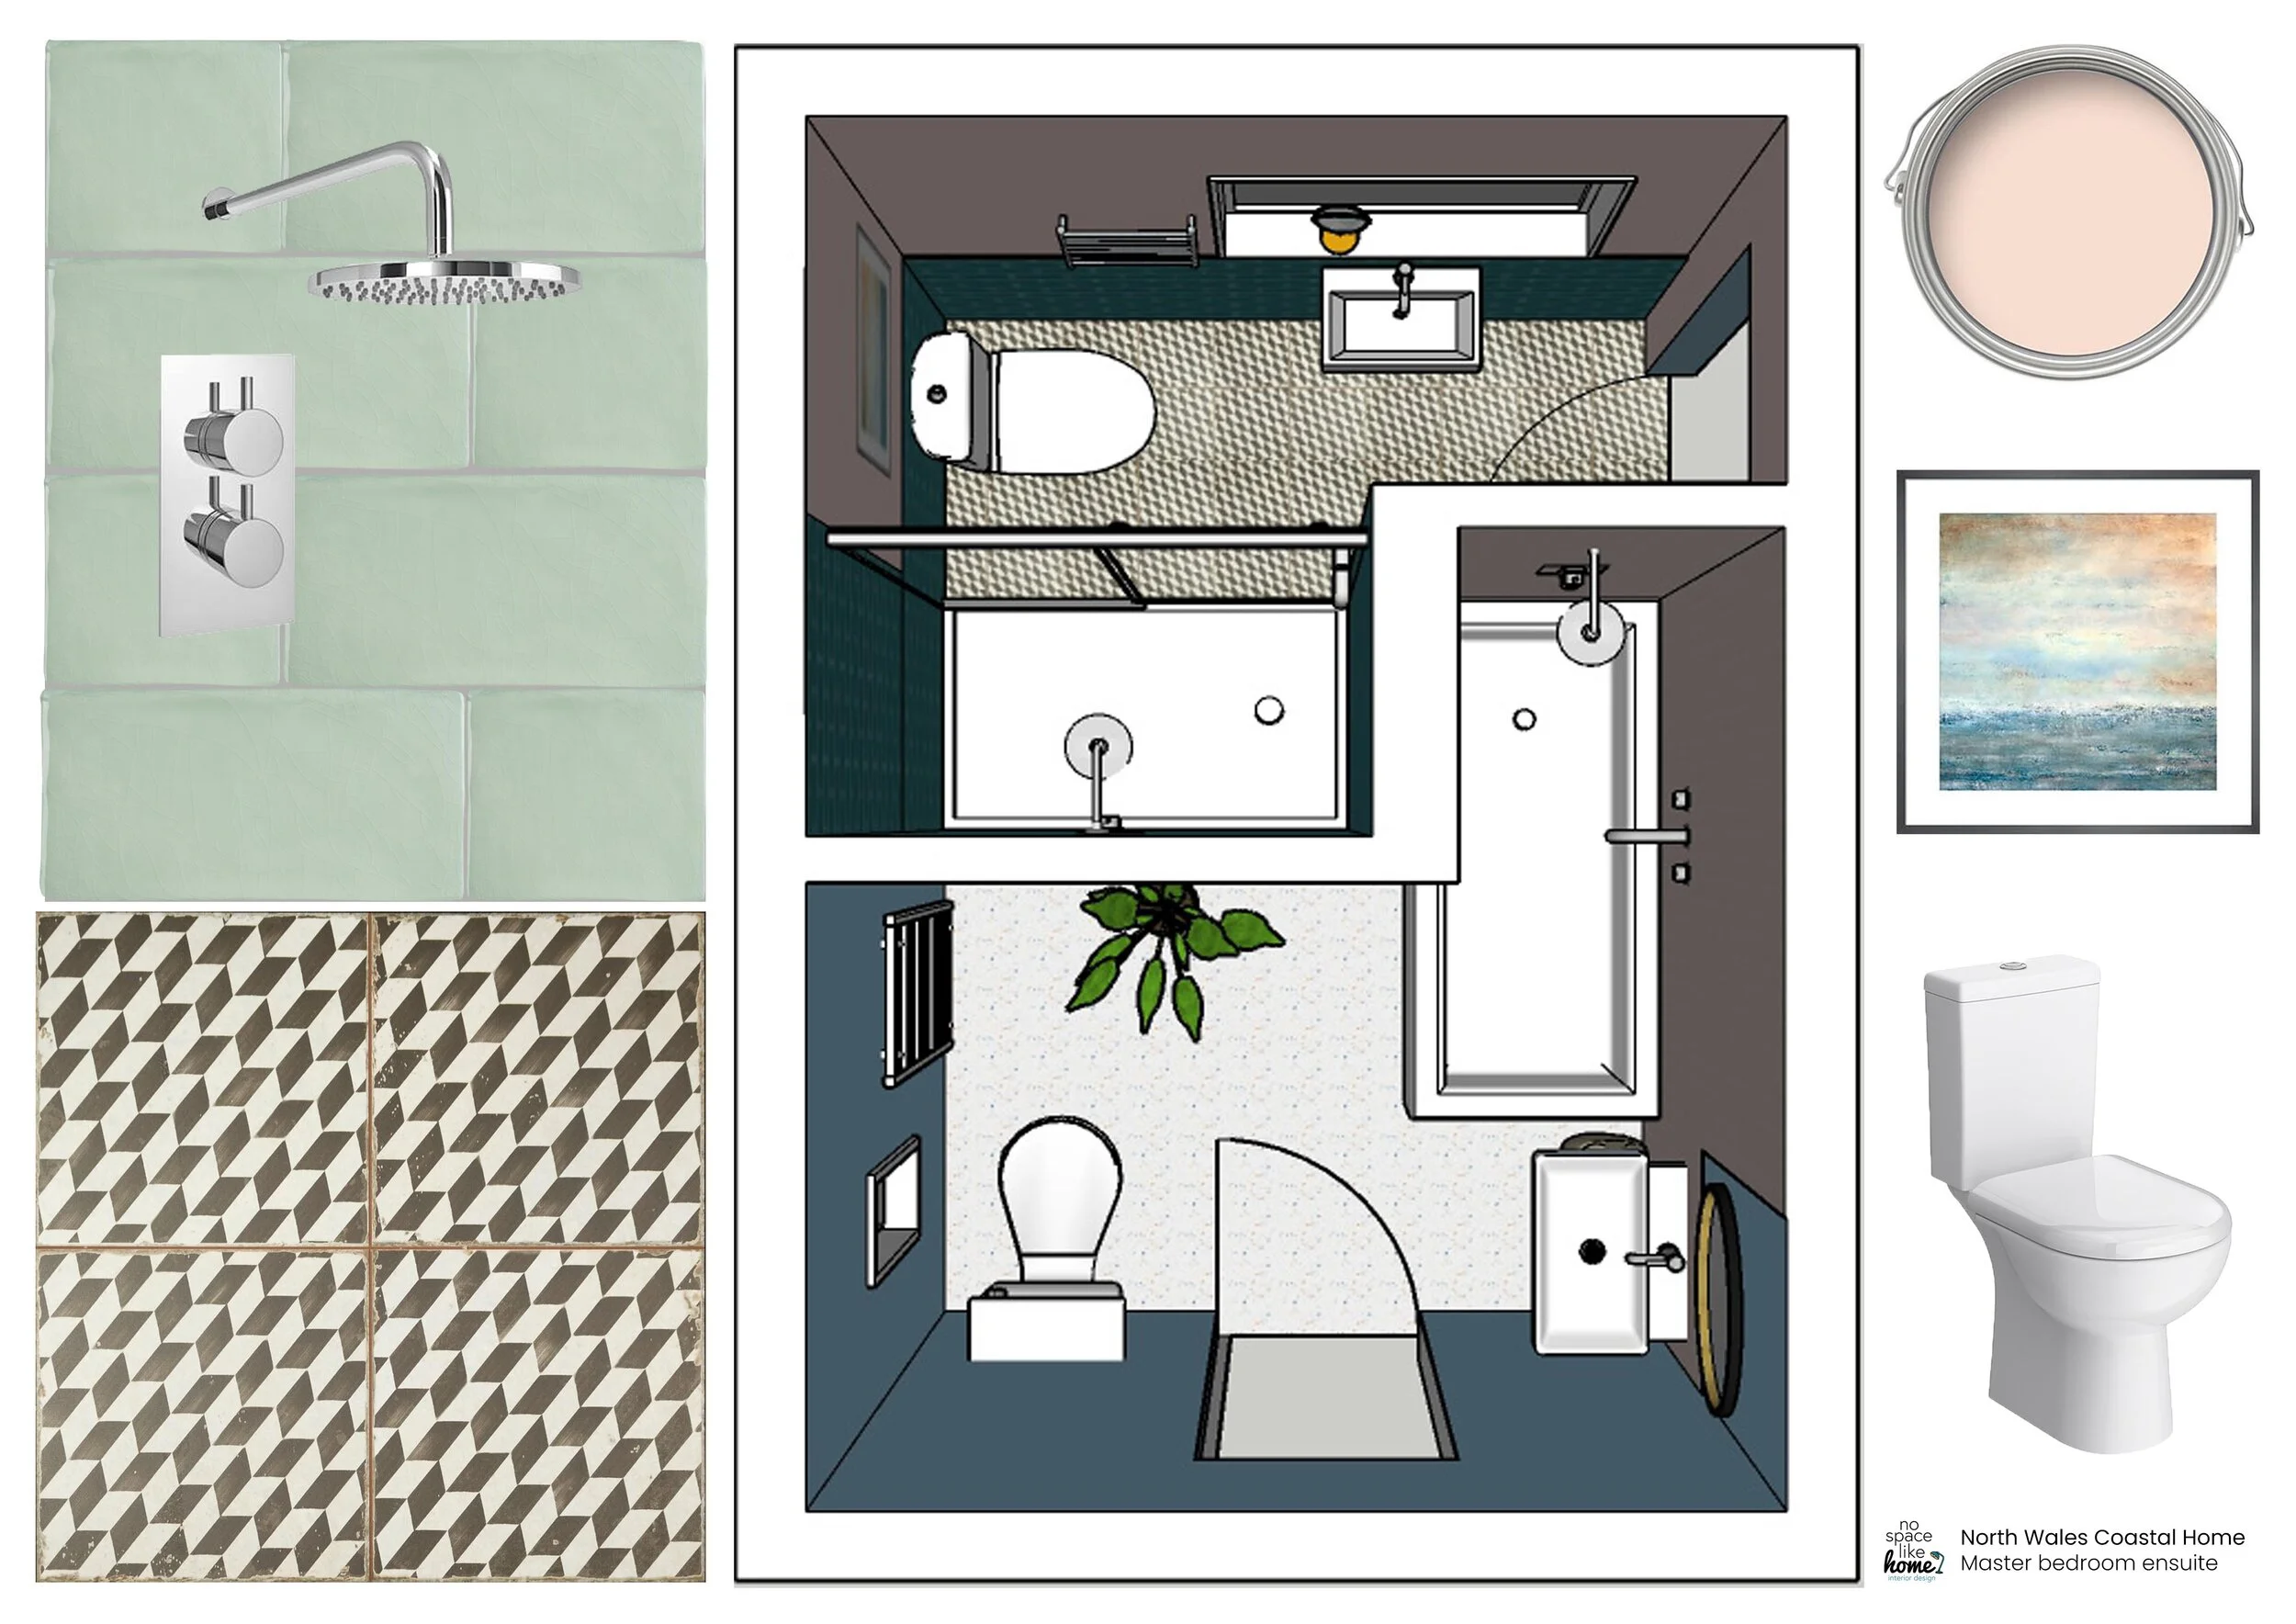
After much tweaking in Sketchup Pro, I came up with a design where the partition wall separating the en-suite from the main bathroom could be used functionally as a shower screen in both rooms, really maximising the available space.

Wall hung basins in both rooms would also make the spaces feel bigger. In the main bathroom, I chose vertical pale pink tiles and lovely colourful terazzo tiles for the floor. I made a tweak to the above design and decided to tile right up to the ceiling behind the sink for a more seamless look.
Progress
If ever there was an image to demonstrate the importance of good project management in interior design, this is it.
(WARNING: it could make you feel very dizzy)

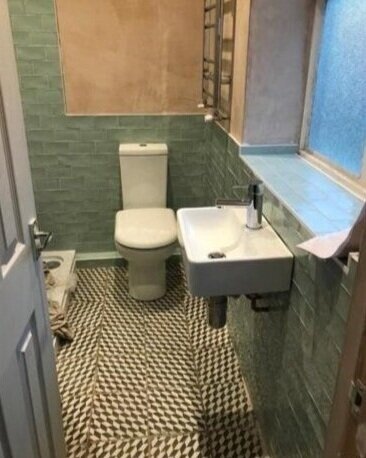
Yes, that’s right, the plumber had laid the tiles haphazardly! To be fair to my mum, this was mid-lockdown so she couldn’t be there to supervise. God I feel sick just looking at them.

So after quite a bit of re-work (pulling up the tiles and re-doing the underfloor heating), this is how it now looks! I carried the pink and mint green through from the master bedroom to the en-suite to create a nice flow. The black and white geometric tiles ground the space and provide a mid-century feel. Just waiting for the artwork to go up.
Bedroom 2
The Design Scheme
I don’t have any decent Before pictures of Bedroom 2 I’m afraid but here’s the interior design scheme!
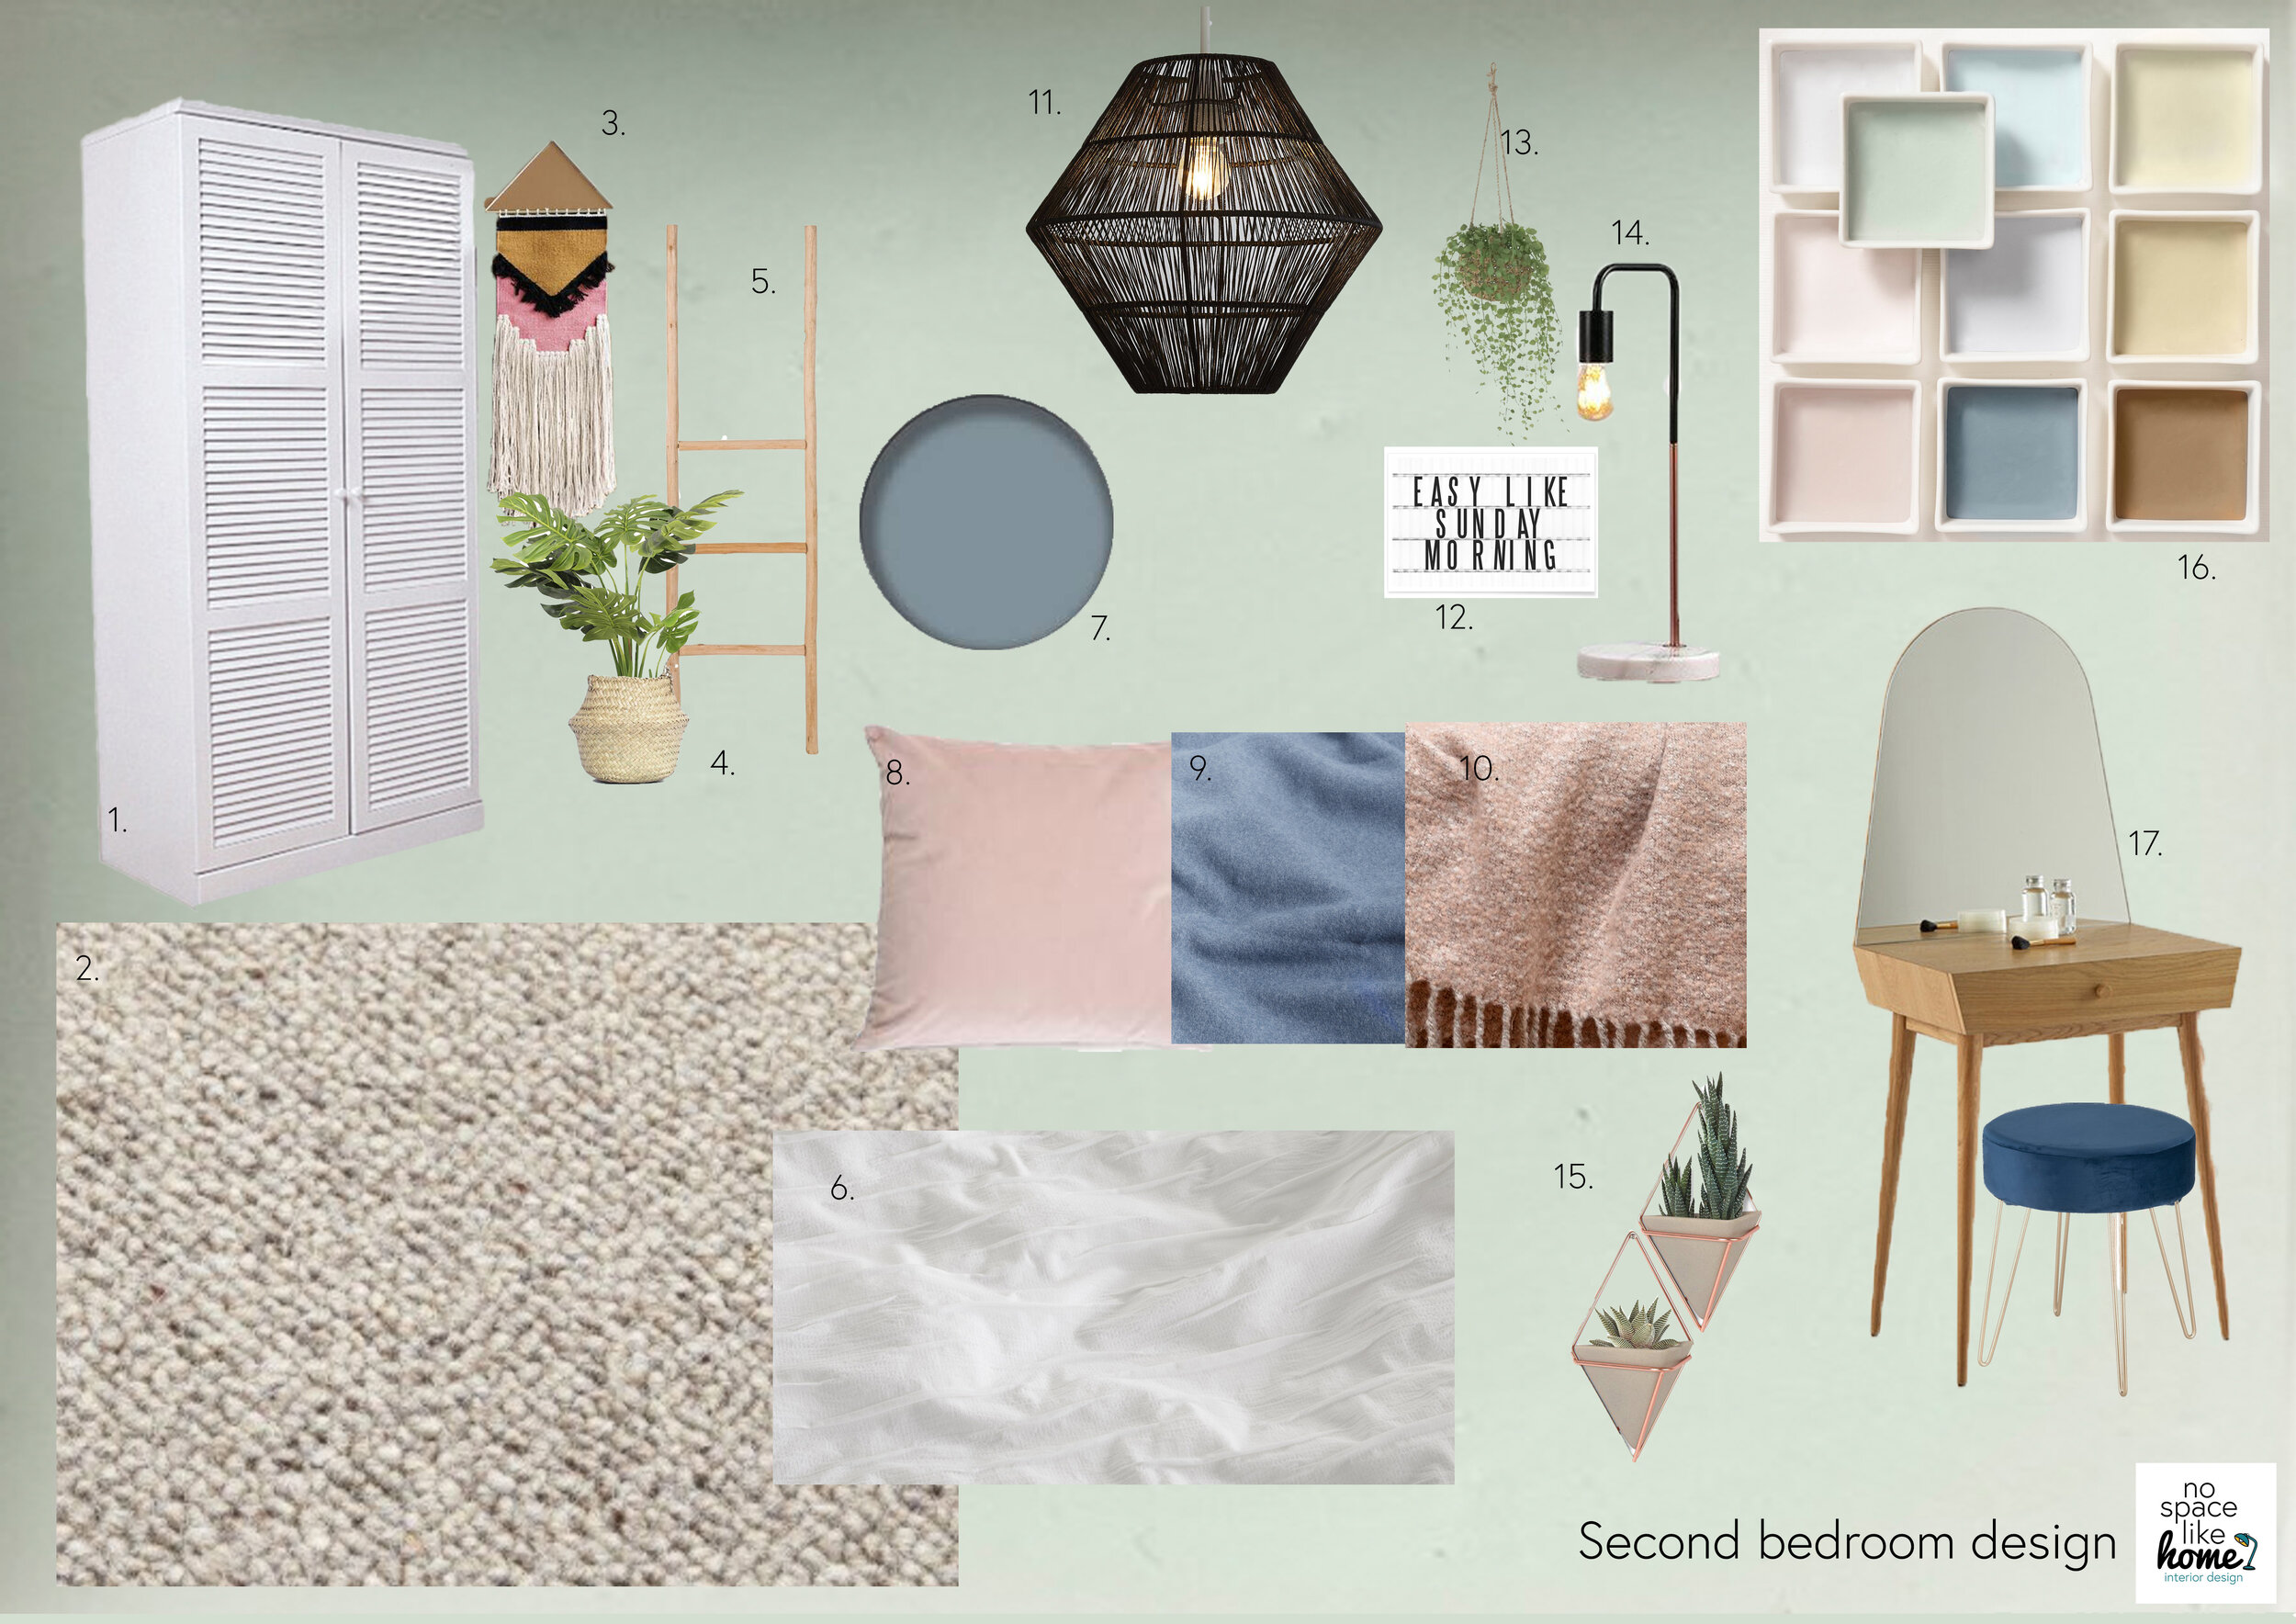
Continuing with the pale green, I chose Dulux’s Tranquil Dawn for the walls, using the Care colour palette for a lovely soothing feel (it was actually the Dulux colour of the year when I started the design about 20 years ago). Pale wood tones will provide warmth and texture and black accents will ground the space.
Bedroom 3

Before
Again, this was taken during the clear-out phase! This will be the kids’ room so we’ve decided on bunk beds to make the most of the space. The radiator has been moved.
The Design Scheme

The kids’ room will be a colourful but calming space. We’re keeping the walls neutral and introducing lots of colourful accents for a fun feel. I found the lovely mid century chest of drawers on eBay for a ridiculous price and it’s already painted in the perfect soft teal colour! The paint is a bit chipped and scratched but that just adds to the character.
And that’s the upstairs! Next time I write a blog about this house, it will be a room reveal - can’t wait to show you! Let me know what you think in the comments.
I’m a Halifax based interior designer and I cover surrounding areas, including Leeds and Manchester. I also provide a remote interior design service. If you’re starting a project and need some help or inspiration, please get in touch.
Update: See the Final Reveals of the Master Bedroom, the Ombre Bedroom, the Kids’ Bedroom and the Bathrooms in my blog posts.